Here’s What to Expect During Tesla Powerwall 3 Installation
If you’re considering a Tesla Powerwall 3 installation, knowing the full process can help you prepare and set expectations. Tesla Powerwall 3 is a cutting-edge home battery system that stores energy from solar panels or the grid to power your home during outages or to reduce energy costs. Here’s a comprehensive guide on what to expect before, during, and after installation.
Pre-Install: Preparing Your Home for Tesla Powerwall 3
Before installation day, several key steps ensure your Tesla Powerwall 3 setup goes smoothly:
1. Site Assessment & Electrical Review:
A certified installer visits your home to evaluate your electrical panel, service capacity (usually 200A), and available space for the Powerwall and Tesla Backup Gateway 3. They also check your solar system compatibility, if applicable.
2. Permits and Approvals:
Local regulations may require electrical permits and interconnection approvals. While your installer typically handles these, knowing the potential timelines helps you plan ahead.
3. Design and Planning:
The installer designs a system layout tailored to your home’s energy needs, breaker panel capacity, and aesthetic preferences, including whether the Powerwall will be mounted indoors or outdoors.
Installation Day: Step-by-Step Walkthrough
Tesla Powerwall 3 installation is a carefully coordinated process that is typically completed in a single day. Here’s what you can expect:
1. Arrival and Workspace Setup:
The installation team arrives with your Powerwall 3 units, Tesla Backup Gateway 3, mounting hardware, and all necessary electrical components. They prepare the workspace to ensure safety, efficiency, and minimal disruption to your home.
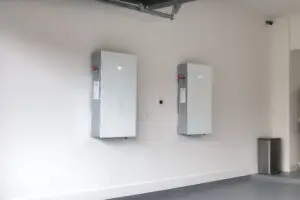
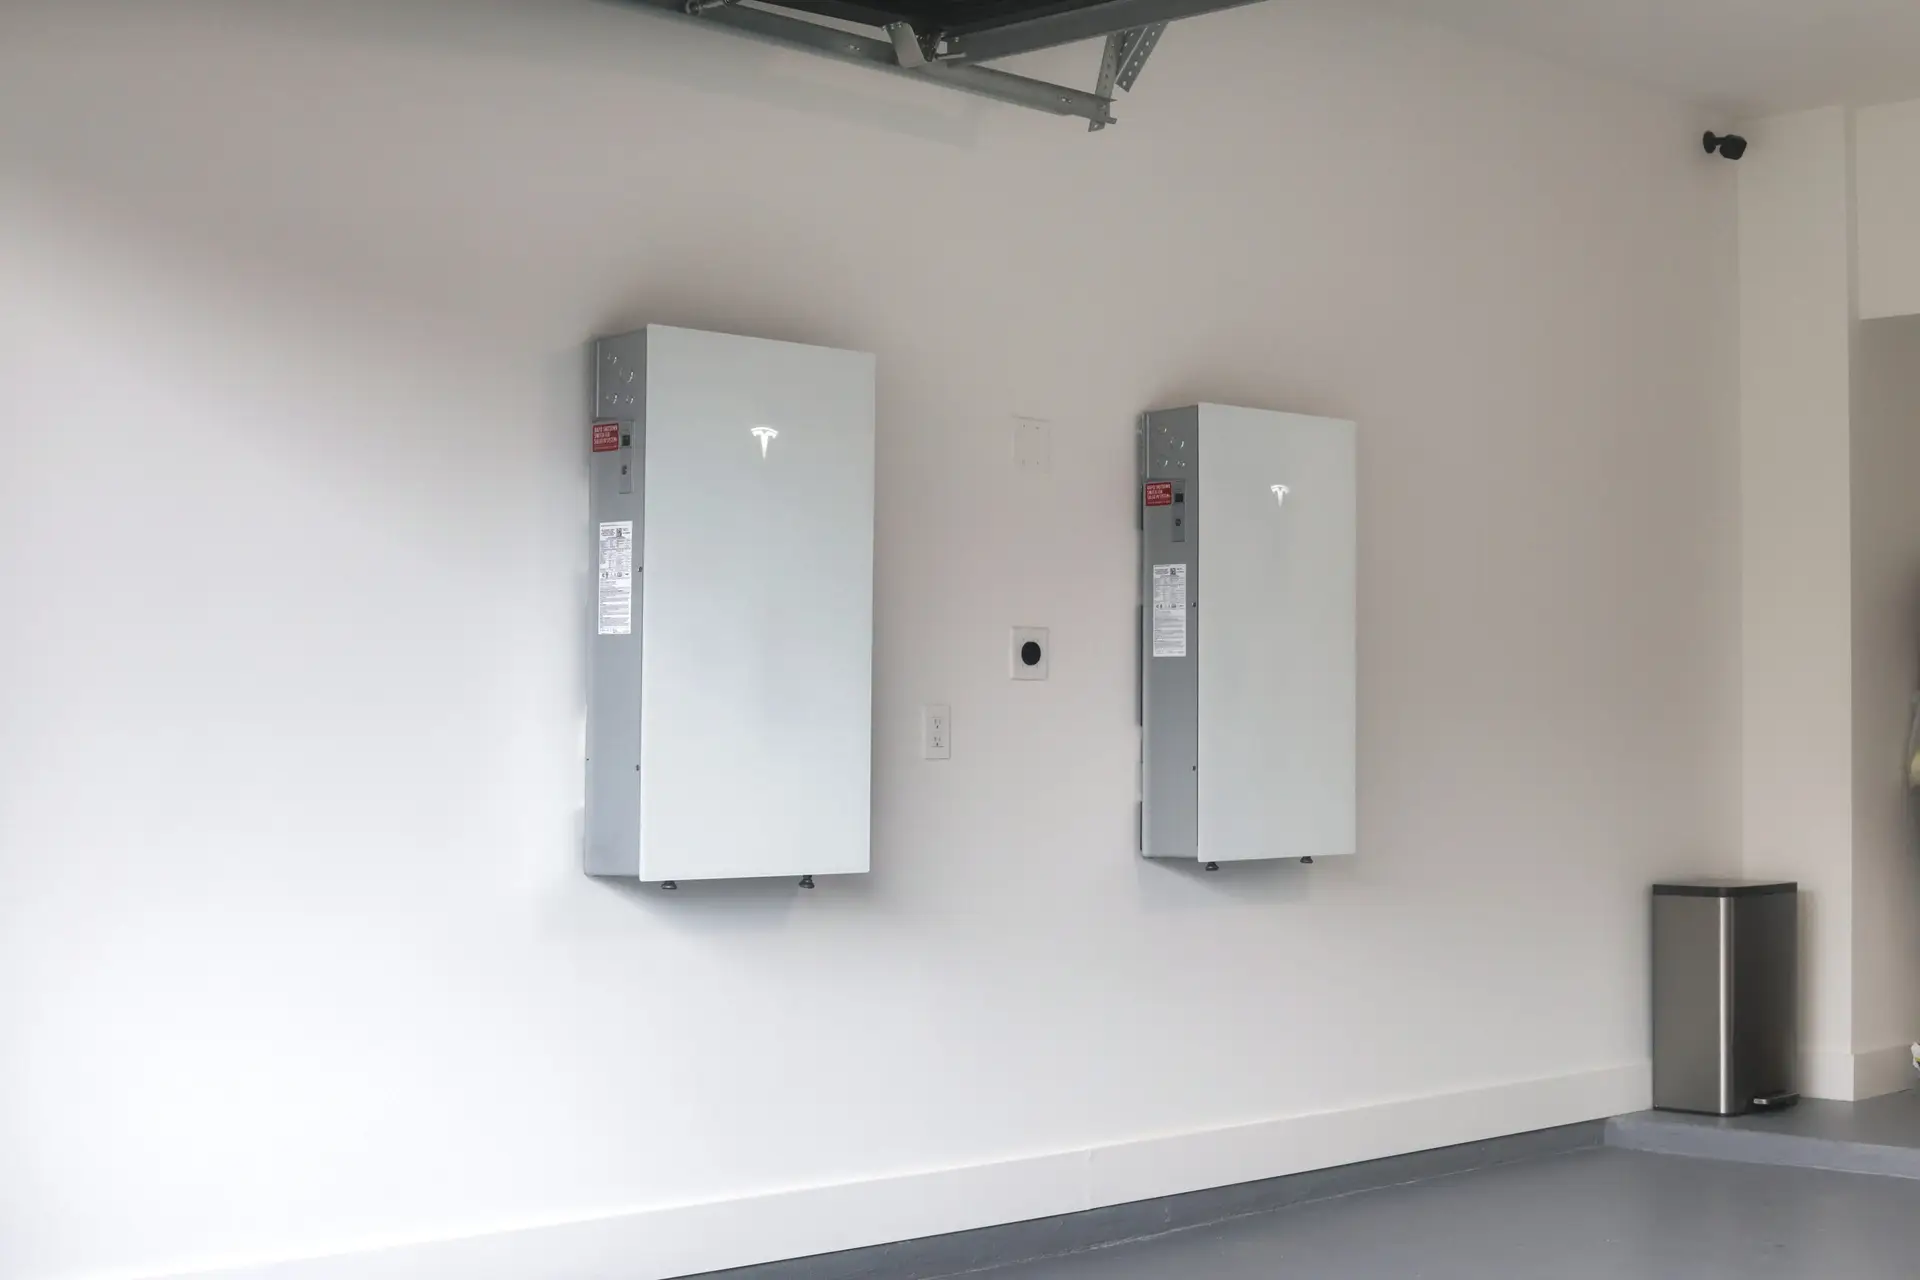
2. Mounting the Powerwall 3:
The Powerwall 3 batteries are securely mounted on a wall, usually near your main electrical panel or garage. These weatherproof units can be installed indoors or outdoors, depending on your home’s layout and aesthetic preferences.
3. Installing the Tesla Backup Gateway 3:
This essential device manages energy flow, monitors the grid, detects outages, and handles automatic backup switching. It also integrates seamlessly with Tesla’s software ecosystem, allowing you to track energy usage through the Tesla app.
4. Electrical Connections:
Certified technicians connect the Powerwall and Gateway to your home’s main electrical service panel. If you have a solar system, they integrate it with your solar inverter. Every connection is done carefully to comply with local electrical codes and safety standards.
5. System Configuration and Testing:
After installation, the system is commissioned using Tesla’s software. Installers configure settings, run safety tests, and verify that everything communicates correctly with the Tesla app, ensuring your home is fully prepared for backup power when needed.
What to Expect During Installation: Timeline and Impact
Installing a Tesla Powerwall 3 is a well-organized process, and knowing what to expect can make the day much smoother.
Duration:
Most installations take between 4 and 8 hours, depending on factors like the complexity of your home’s electrical system, the number of Powerwall units being installed, and local permitting requirements.
Power Outages:
Brief power interruptions may occur while connecting the Powerwall to your home’s electrical panel. The installation team coordinates carefully to minimize downtime and keeps you informed throughout the process.
Noise and Disruption:
Some noise is normal, such as drilling or electrical work, but installers aim to work efficiently and respectfully, keeping disruption to a minimum.
Safety Protocols:
Certified technicians follow strict safety standards, including shutting down power during critical wiring phases. Every step ensures a safe, secure, and code-compliant installation, giving you peace of mind while your home gets upgraded.
Post-Installation: Activation, Monitoring, and Maintenance
After your Tesla Powerwall 3 is installed, there are a few important steps and best practices to ensure your system runs smoothly and efficiently.
System Activation:
Once installation is complete, your Powerwall 3 is activated and linked to your Tesla app account. This gives you real-time access to battery status, energy flow, and overall system health, so you can monitor your home’s energy usage anytime.
Firmware Updates:
Tesla regularly sends firmware updates to improve performance, add new features, and enhance reliability. These updates are delivered seamlessly over the internet, so your system stays up to date without any manual intervention.
Maintenance Tips:
Tesla Powerwall systems are designed for minimal upkeep, but simple practices can help maintain peak performance. Keep the units clean, ensure proper ventilation around the system, and schedule periodic professional inspections to catch any potential issues early.
A Seamless Path to Energy Independence
Tesla Powerwall 3 installation is a well-planned, professional process that transforms your home’s energy system, providing backup power, solar optimization, and energy cost savings. With certified installers guiding the process, you can expect a smooth experience and a powerful addition to your home.
Ready to make the switch? Contact Solstice Solar to schedule your Tesla Powerwall 3 installation and start enjoying energy independence today.
FAQ About Tesla Powerwall 3 Installation
Can I stay home during the installation?
Yes. Most homeowners remain on-site during the installation. Installers may request you to avoid the immediate work areas for safety.
Will the installation interrupt my electricity?
Short, planned power interruptions may occur, especially when connecting the Powerwall to your electrical panel. Installers coordinate to minimize inconvenience.
How many Powerwalls can I install?
Tesla Powerwall 3 supports stacking multiple units (up to 10) for increased storage capacity, depending on your energy needs.
Is the installation covered by warranty?
Yes. Tesla provides a 10-year warranty covering hardware defects and performance guarantees.